一个用单片机放视频的小项目
This is an automatically translated post by LLM. The original post is in Chinese. If you find any translation errors, please leave a comment to help me improve the translation. Thanks!
Overall Design Concept
The playback of a video essentially involves a sequence of images displayed in a specific order at regular time intervals, creating a visual effect. Therefore, driving an LCD to play a video with a microcontroller involves pushing images to the LCD's buffer at certain intervals, continuously refreshing the screen to switch images. At the end of the article, I've included the source project files for reference.
If audio playback is desired, connect an amplifier to the microcontroller's pin, and the microcontroller can continuously power the amplifier with audio voltage. Since the microcontroller's frequency is only 1MHz and it generates square wave signals, the simulation effect in Proteus is not ideal, so audio playback is not included here.
Here's a demo video:
Thus, the entire project can be divided into several parts:
- Crop and scale the video to the size of the display, and binarize the video content.
- Write the binarized video stream into a .h file in frame order for easy retrieval.
- Connect the circuit on the Proteus simulation platform.
- Write a program to control the microcontroller to continuously write images to the LCD.
1. Video Processing
Python is used here for video processing, utilizing the OpenCV library for Python. Referring to a tutorial book on OpenCV-python, which I've made available here, interested readers can download it.
Here's how the video is read:
1 | # Python code block |
2. Writing Frame Data to .h File
The frame data obtained from the previous step is arranged sequentially and separated by ',' to form the dataset needed for displaying the video.
Create an image.h file and paste all the data into a static array:
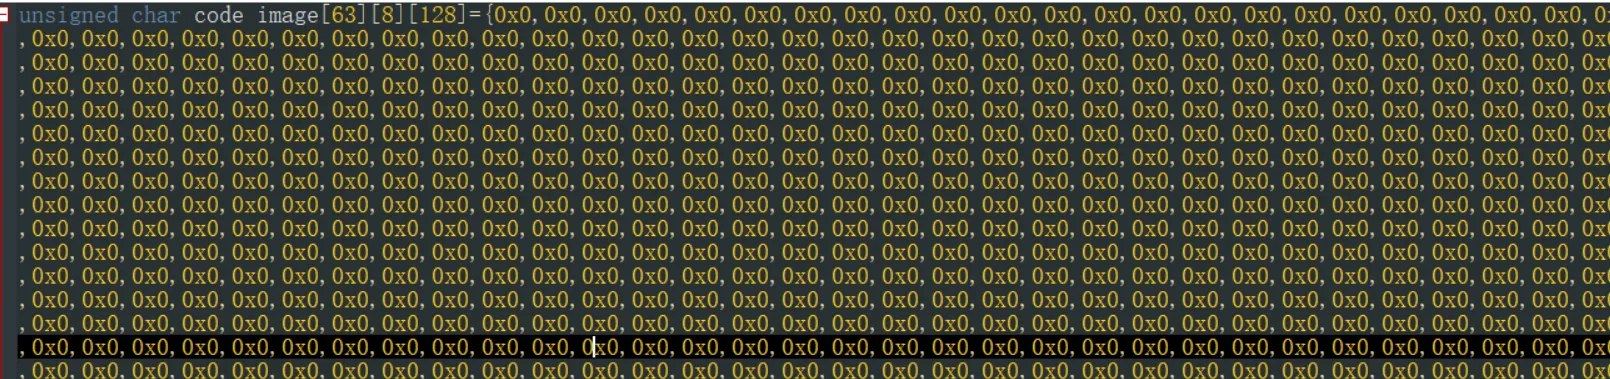
Note: The display resolution is 64 * 128, totaling 8192 pixels. Each pixel has a value of 0/1. Using run-length compression, 8 pixels are compressed to 1 byte. Therefore, each frame occupies memory size of 8 * 128 = 1024 bytes = 1K. In Proteus simulation software, the maximum RAM is 64K. Considering that some space is needed for other code, here we can store a maximum of 62~63 frames, depending on the space occupied by other code.
3. Connecting the Circuit on Proteus
The chosen microcontroller is the classic AT89C51, and the display model is AMPIPR128*64.
The wiring is done using labeled connections for easy setup and viewing:
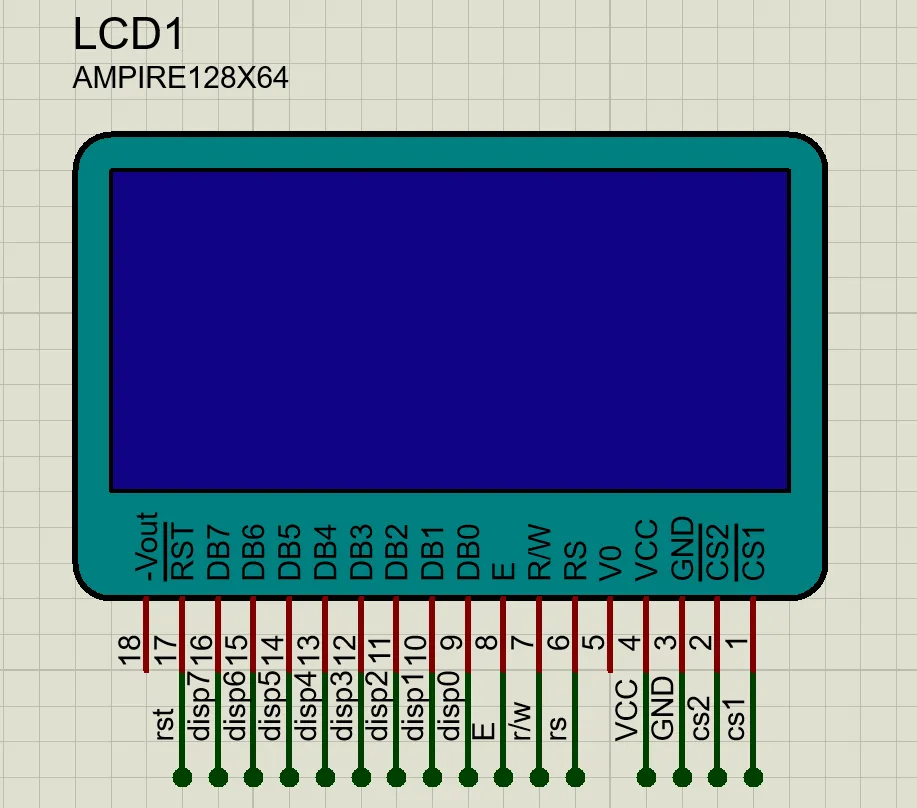

For the meanings and usage methods of the microcontroller pins and the meanings of each pin of the LCD, you can search and learn by yourself. There are many related materials available online.
4. Writing the Program for the Microcontroller
To write a program to drive the LCD with the microcontroller, we need to understand the functions of each LCD pin and how to drive it to display images. Similarly, there are plenty of manuals available online for reference. Here, we directly use a pre-packaged driver file to perform low-level operations on the display, focusing only on the application-level logic.
Source code:
1 | // C code block |
The encapsulated display driver .h file:
1 | // Another C code block |
5. Conclusion (with Project Download Link)
This project was done during my junior year of college and it inspired me greatly. It made me realize that seemingly complex projects in our lives often have simple underlying principles, just like video playback. However, simplicity can also be complex. Later, when working on speech recognition, using my extracted speech features to recognize digits 0-9, the overall recognition rate was less than 30%. Therefore, assessing the difficulty of a task cannot be based solely on intuition; instead, it requires understanding its operation mechanism and module composition, analyzing its implementation principles, and thereby gaining a clear understanding of each project.
Project file download: Click to Download